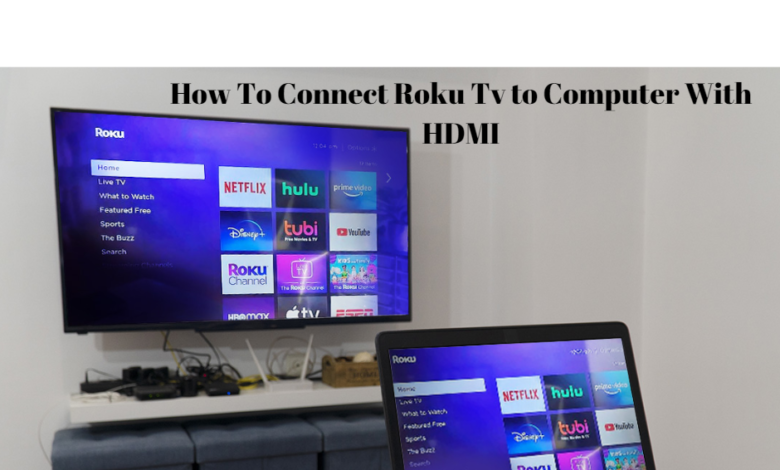
How to Connect Roku TV to Computer With HDMI
By connecting Roku Tv to Computer you can just relax on your couch while browsing the web, playing PC games, or streaming content from applications that aren’t accessible on your TV is wonderful. Or maybe all you need for video conferencing is a larger vision.
Perhaps you could try utilizing your large TV as a monitor in the new year if you’re tired or frustrated with your laptop’s little screen. You may share material from your laptop on the bigger screen of your TV by simply utilizing HDMI to connect a laptop to a Roku TV.
Steps To Connect Roku Tv to Computer With HDMI
Examine The HDMI Ports On Your Computer & Television
Make sure your laptop and TV have HDMI ports before you start. These are often found on the device’s side or rear.
Purchase An HDMI Cord
The HDMI cable is the next item you’ll need to connect your laptop to your TV. Make sure the wire is long enough to connect your TV and laptop.
Connect your laptop and TV with an HDMI Connection
Connect the HDMI cable’s one end to the laptop’s HDMI port and the other to the TV.
Alternate the TV’s input
You must switch the input on your TV to the HDMI port you are using after connecting the HDMI cable. The “Input” or “Source” button on your TV remote is often used to do this.
Run a Connectivity Test
You should now be able to view your laptop’s screen on your TV after changing the input. If there is nothing visible, try plugging and disconnecting the HDMI cable again, or make sure the TV is set to the appropriate information.
Do check our blog on Best Internet Packages In KSA…
Conclusion
This was the complete way or method through which you can connect Roku Tv to Computer with HDMI. After following this procedure, the ability to transmit material from your laptop to your TV should now be available.


